|
|


|
|
.
Your PedalSnake System
.
The ProcessFollow these 5 easy steps to a better guitar life, with faster setup, a cleaner stage, and reduced noise.
|
|
| . |
.
|
|
|
|
|
|
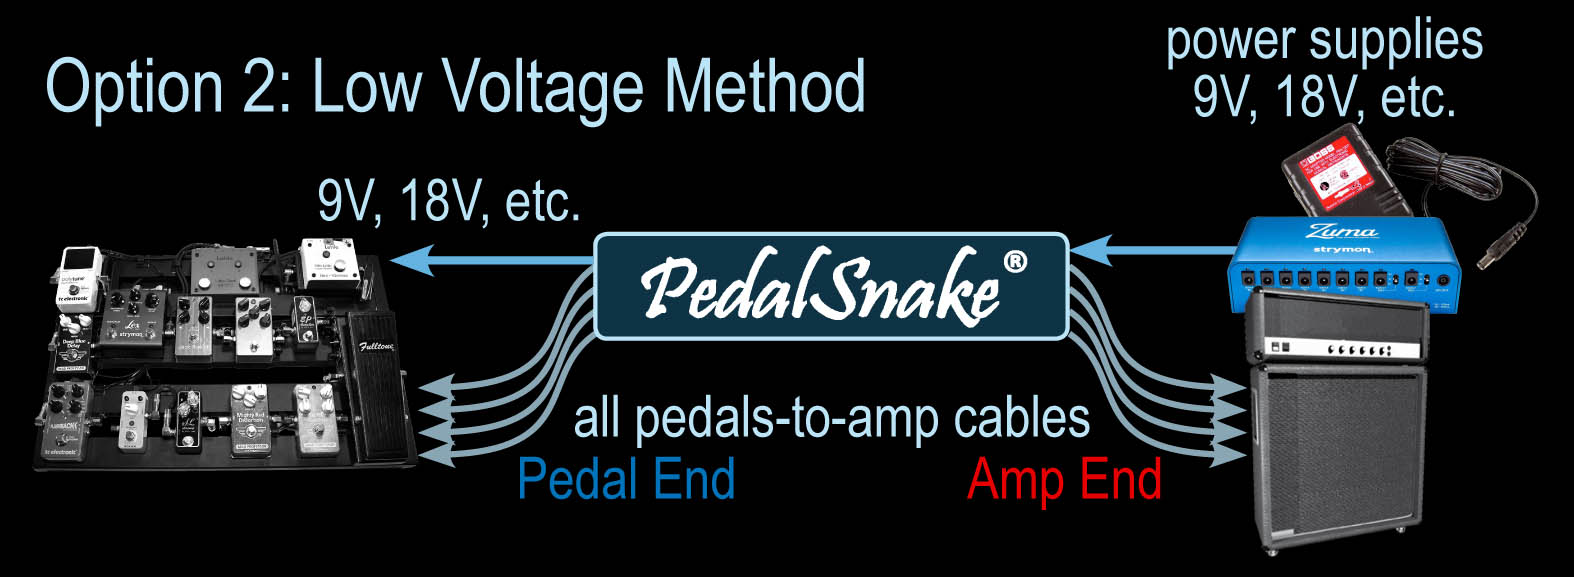
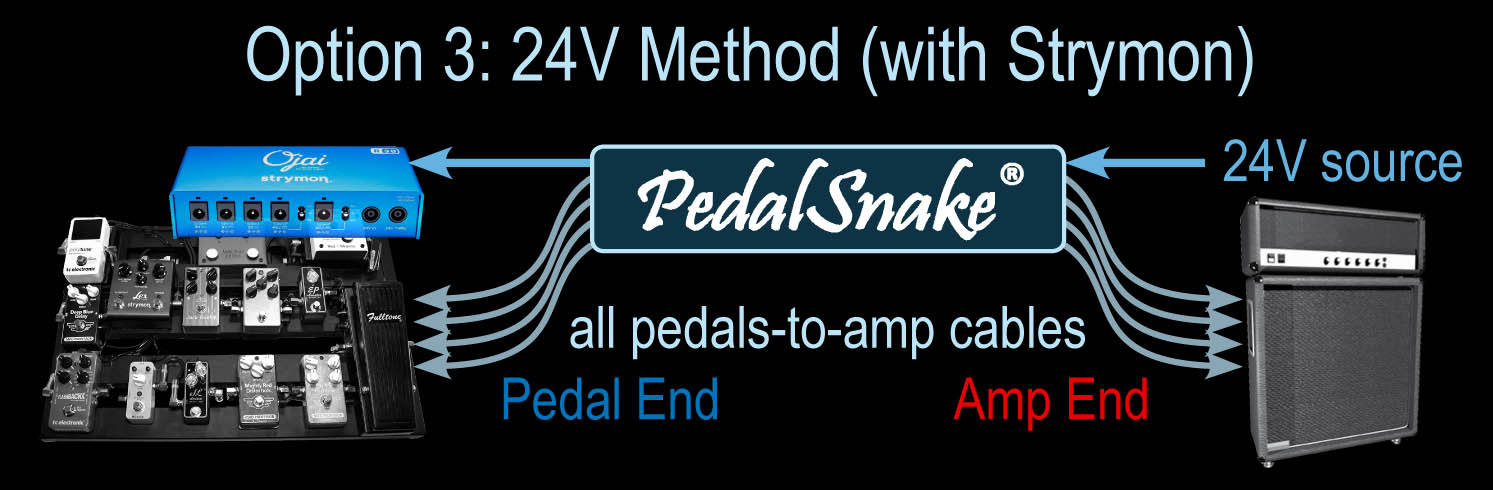
1Figure out which power option you will use.This is the big decision, and will affect how you proceed to choose the rest of your PedalSnake system.
See Power and PedalSnake: Three Options |
   |
|
|
.
.
| . | |
2Figure out hwo many lines/channels your BaseSnake will needsIn addition to power, before you can select a BaseSnake, you must figure out how many lines and channels your rig needs.
See Select Your Lines and Channels. . |
 |
| . |
.
.
3Choose your BaseSnake. |
|
|
Once you know how many lines and channels you need, the next step is to choose the centerpiece of your system: The BaseSnake. You can select 4, 6, or 7 channels, and lengths of 18 or 24 feet. |
 |
| . |
.
4Test connections. |
|
|
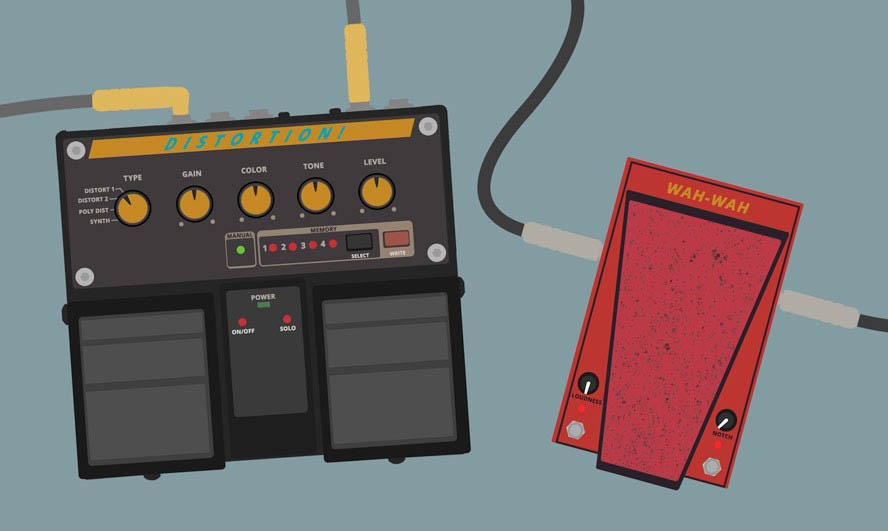
Most PedalSnake users find it wise to remove pedals from a pedalboard before beginning setup. This way, pedals and connectors are more easily moved around while you get things right.
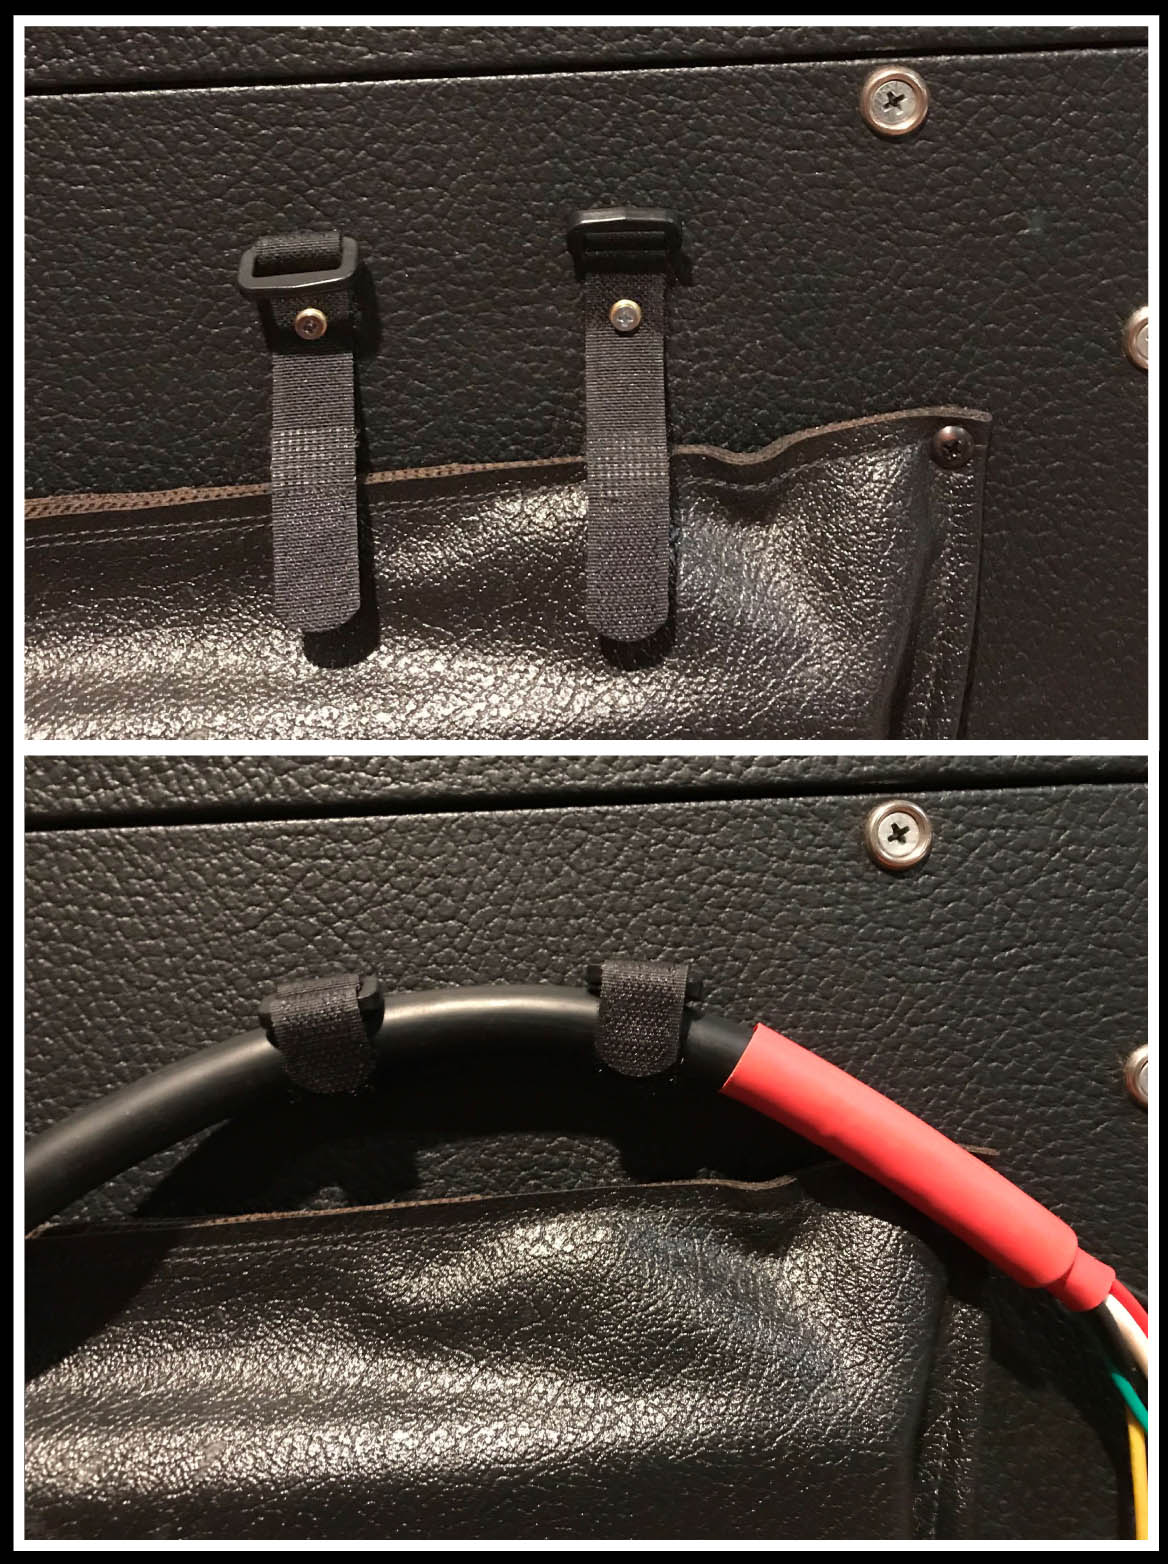
Once you are satisfied, you may even want to make sure all your connections are good and reliable. Do this by wiggling each connection in your new PedalSnake system while listening for pops and crackles. When you know all connections are good, they should stay that way forever if you use proper strain relief and avoid undue abuse (always use proper strain relief with a heavy snake!). Then you can disassemble your test setup, put the pedals back on your pedalboard, and reconnect everything. To make your system more rugged and bulletproof, see Tour Prep Accessories (more below). . |
 |
| . |
.
5.Ruggedize your system via Tour Prep Accessories (optional) |
 |
|
Most PedalSnake users wish to have a rugged, bulletproof system. With PedalSnake, this is easy.
See Tour Prep Accessories |
 |
Return to
.
PedalSnake® is the trademark for Stage Magic Inc’s All-In-One Stompbox Cable. Copyright © 2015 Stage Magic, Inc.